.:HSTuners::::Hondas Wanted:: |
|
|
#1 |
|
5th Gear
Join Date: Sep 2002
Location: Orange County, Southern California
Age: 38
Posts: 1,490
|
DIY: Clearing 7th Gen Civic Headlights *PICS 56k Death*
Though this was primarily to clear out a broken "Hyperwhite" bulb in Mischief(LTS)'s headlamps, this guide can also help in the clearing of the amber piece inside your headlight.
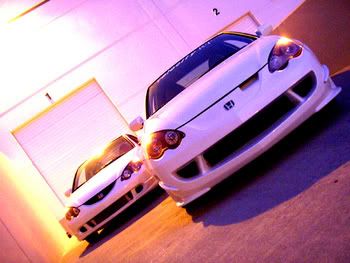
Materials needed: - Silicone Sealant (We purchased a large tube of industrial strength sealant, rated 10/10 on plastics. Only cost around $4 and was enough to finish both headlights and have about 1/2 tube left over. -Blade or Exacto-knife. - Various sockets, primarily 10mm for the headlights.. as well as phillips + flathead screwdrivers. -a buddy -drinks -a rolly chair -duct tape 1. Remove the bumper. a) Remove the two screws on each side of the wheel well, and remove the 4 bolts w/ washers underneath the car. Remove the bolts holding on the watershield as well. b) Carefully remove the bumper and place it somewhere where it wont get in the way. 2. Remove the headlights. a) Two visible screws on the top of the headlight housing, one on the side of the headlights, and one hidden near the center of the car running vertically on the headlight support. Your car should now look like this:  The area after the headlight has been removed:  3. Start prying the headlights apart. Note: Since Ryan had a problem with water sealing before we started this project, he had it repaired numerous times by stores all with the same effect- it sucked. One problem we encountered was the "rubber cement" that they used to fuse the two headlight housings together. Lets say it was like having to pry apart two plastic pieces fused by super glue. a) Use the blade or exacto-knife (preferably- for safety), and run it along the middle of the two housings. b) Use the flathead to pop the clips holding the two bodies together, and start to carefully pry them apart. Before: (Hack that *****)  Two wonderful hours later: (VICTORYYYYY!!! GOALLLLLLLL!!!!)  4. Clean the two lenses while you're at it.  Clear out Amber piece -OPTIONAL STEP- a) If necessary, use a phillips screw driver, and remove the inner piece of the headlight, and remove the amber piece. Clean out the lense, and put it aside. 5. Apply Silicone sealant Note: always wear a stupid expression on your face while doing this. a) apply generously to seal all holes possible, you can always cut off excess after it dries.       6. Put the two halves together a) Place the two halves together, its ok if it smears out. Prepare to get dirty. b) Have one person squeeze the two halves together while taping the headlight assembly TIGHT. A couple strips over the parts that have trouble staying together should do. c) For added safety, we coated it yet again with another layer of silicone to make sure absolutely nothing leaked. d) Repeat with other side. Finished product.. almost:  7. Let it sit! a) Let it sit for atleast 1-2 Hours before you put it back onto your car. If you placed an extra layer of silicone sealant like we did, then let it sit for atleast 3 hours. Even then, it will be incredibly soft. If possible, let it sit a full 24 hours before you put it back onto the car. In the meanwhile, have some fun: Not only did we roll down the driveway, but we also went to test drive some cars including the 350Z   8. Put that biatch back in! a) Install the headlights back onto the car. Lookit them! All clean: Remember the stupid expression of the face helps.   Work biatch!  Live! Live!!   9. Replace Bumper   10. Admire your finished product  We thugs. 11. Absolutely Necessary Step!: Go cruisin  note: his car is primered and waiting for paint  Say hi ryan:  Ugly car:  And I've got the lead!:  Or not:  Aah, the open road: 
__________________
 everyone loves the turbizzim. Last edited by TeriyakiBroccoli : 04-17-2003 at 06:54 PM. |
|
|

|
| Thread Tools | |
| Display Modes | |
|
|